Blackberry Bay Gateau

Stop what you are doing right now and take a moment to take it all in. This is the gateau of my dreams.
I can't contain my excitement over this cake. I mean... gateau. I'm so excited it makes me weird. I want to fall asleep and swim in this ganache sea of sexy green tea. It's a real fancy gateau friends.
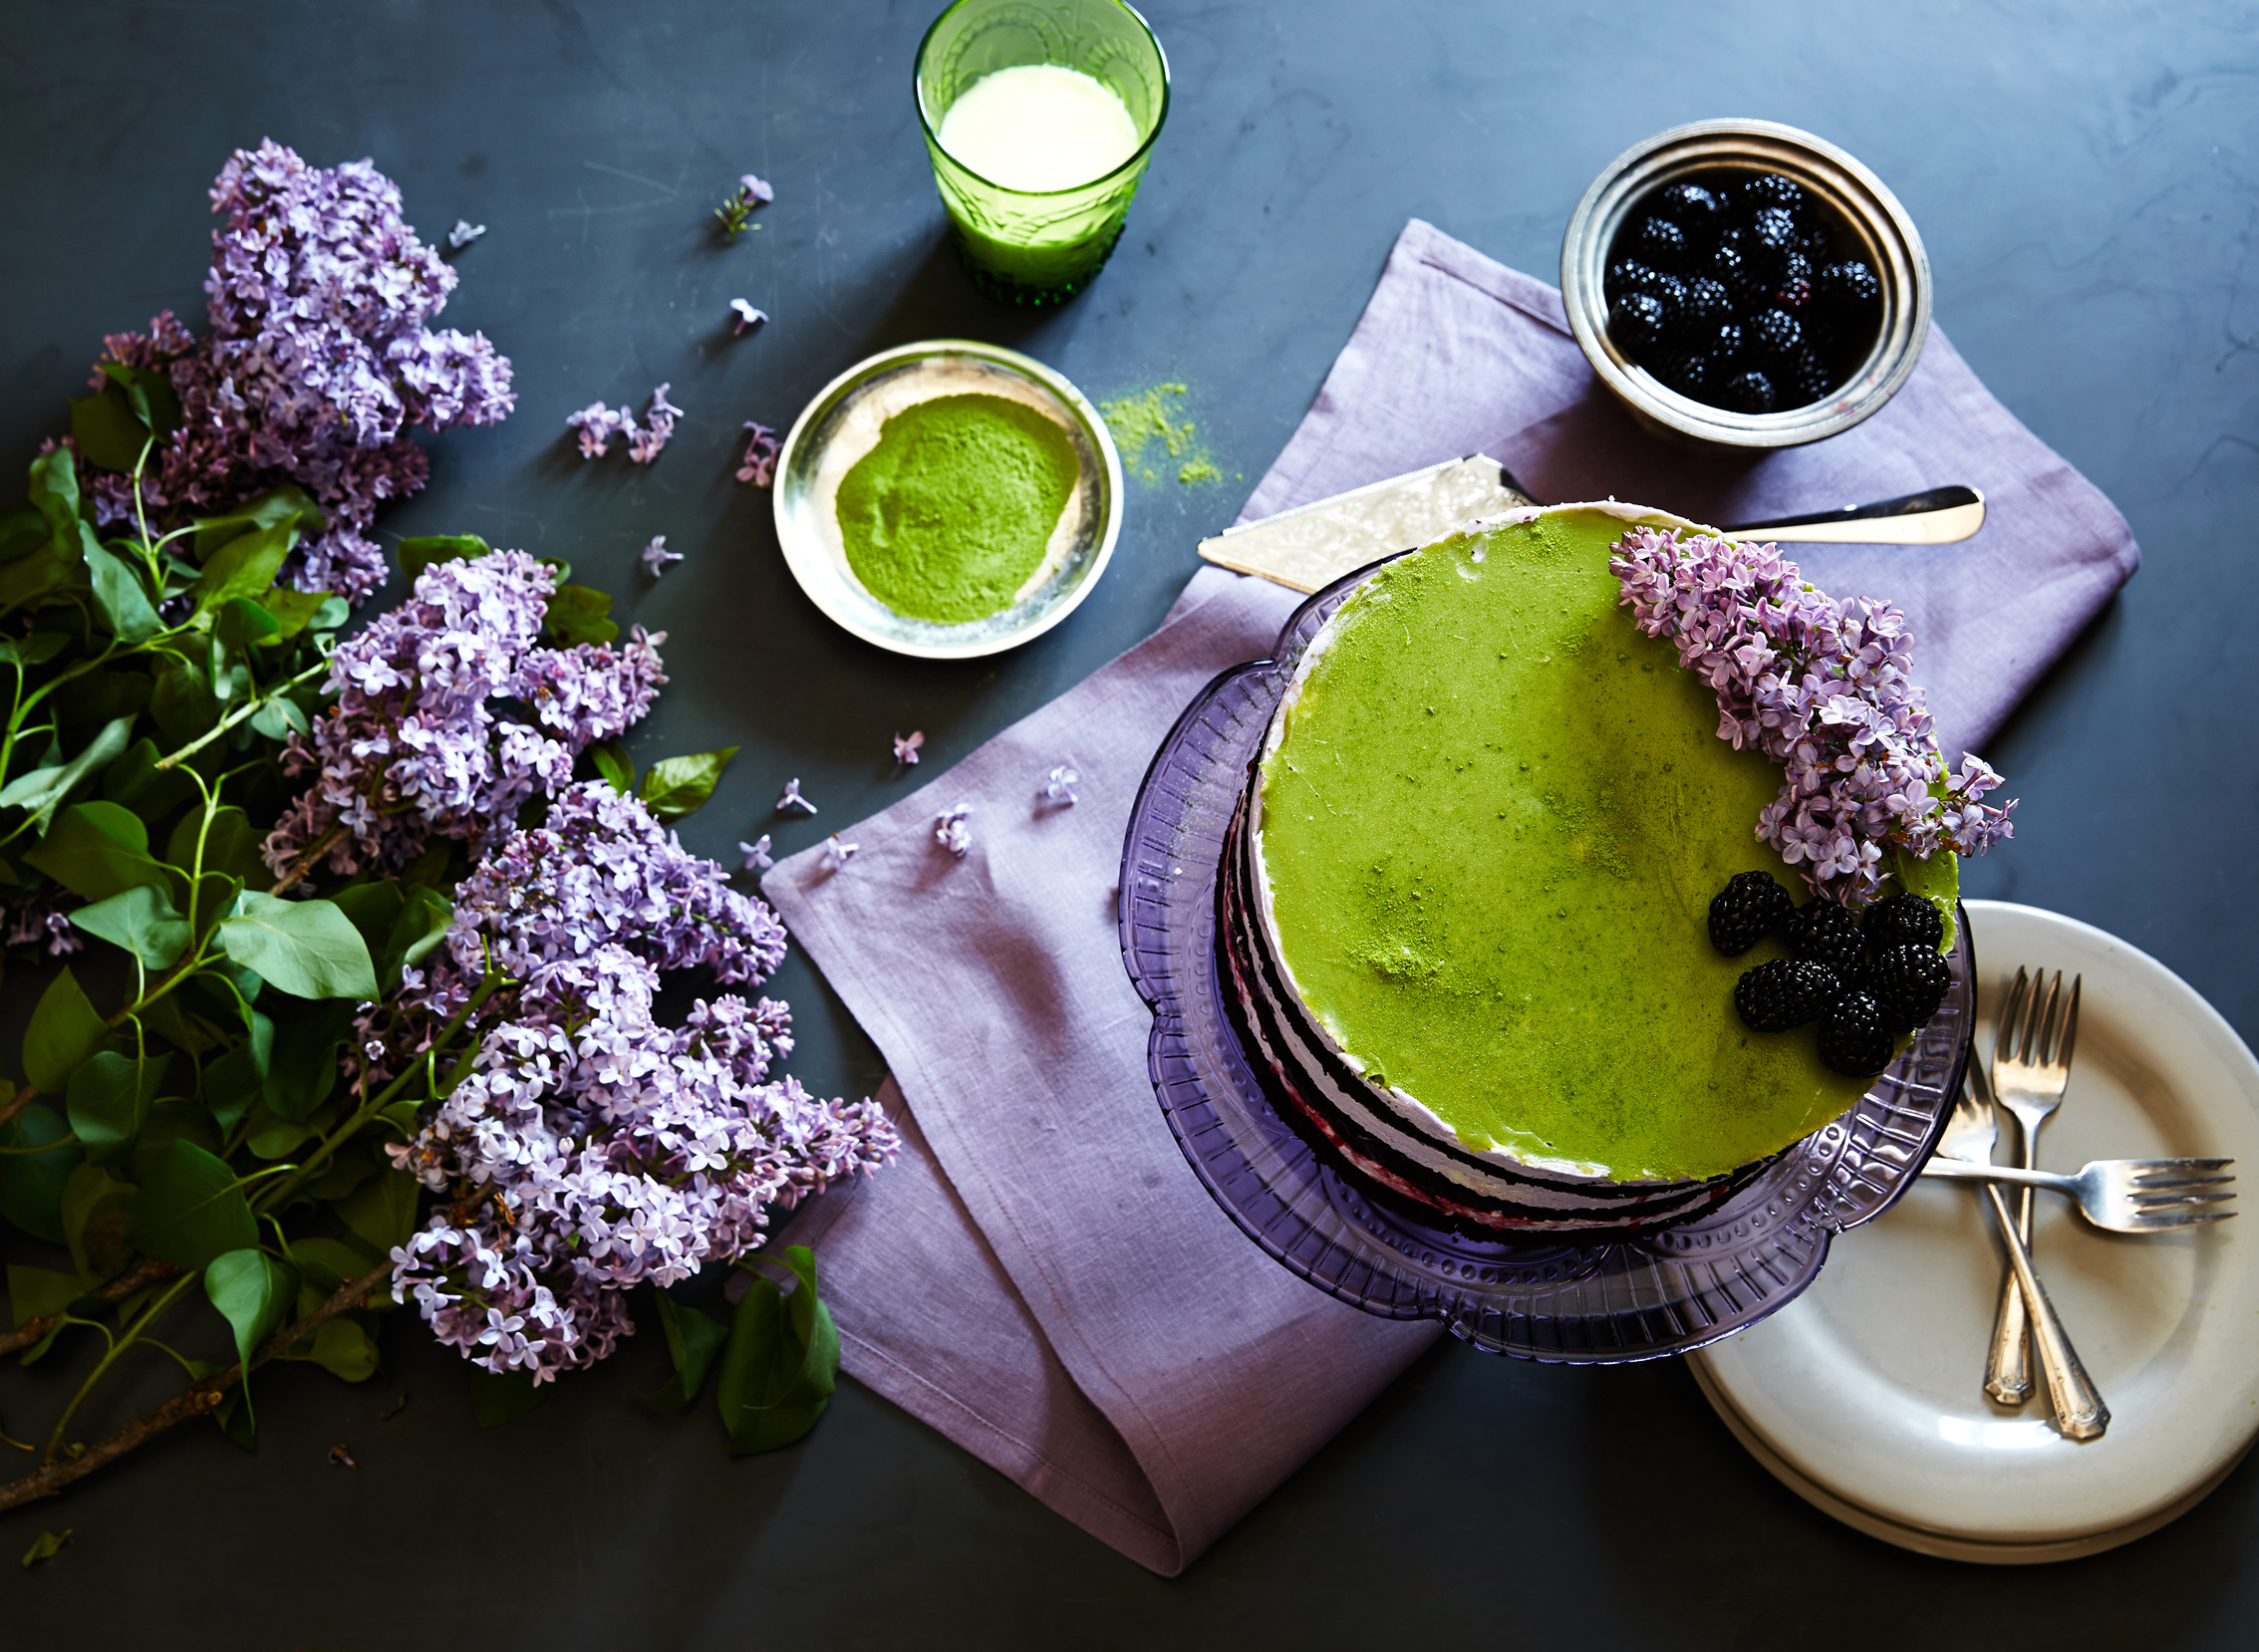
Springtime decadence. That's how I would describe this cake. Layers of rich and moist chocolate cake sandwiched with tart blackberry compote, fluffy vanilla buttercream, and topped off with a luxurious white chocolate matcha ganache. Sigh with me now.
Le sigh!
Is your mouth watering yet?
Now, I am the first to admit this is not a cake to tackle in an hour. In fact, it took me a couple days to assemble this beauty. That being said, after one bite, I knew it was worth it. Somewhat ironically this cake was inspired by my less than glamorous first job at Starbucks. Back in the summer of 2006 they served a blackberry green tea frappuccino that was out-of-this-world. So good guys. The idea was pretty simple: a cream based, blended matcha drink with whipped cream but then there was this scrumptious, gooey blackberry sauce that we drizzled over the top. The flavor combination has stayed in my head all these years. That's practically ten years! When did I get so old?!
Anyhow, if you make this cake it will most certainly be a showstopper worth every minute spent. You'll practically die once you take a bite. Do it. And do it soon.
Huge thanks to Frank Tribble for his photography!
Chocolate Cake
(Same recipe as the [Quarter]Century Celebration Cake)
- 2 1/4 cups all-purpose flour
- 3 cups granulated sugar
- 1 1/4 cup cocoa powder, preferably extra dark
- 3 teaspoons baking soda
- 1 1/2 teaspoons baking powder
- 1 1/2 teaspoons salt
- 3 eggs, at room temperature
- 1 1/2 cups strong, hot black coffee
- 1 1/2 cups milk (I used soy)
- 3/4 cup vegetable oil
- 1 1/2 tablespoons pure vanilla extract
Preheat oven to 350°F. Butter and flour one 1/2 size sheet pan. Make sure the bottom is well greased and floured to ensure easy removal.
Sift dry ingredients into bowl of a stand mixer and stir together with paddle attachment on a low speed.
Put on splash guard and add remaining ingredients on a low speed. Once everything is added, beat on medium speed for two minutes or until smooth. Batter will be super duper liquidy.
Distribute batter evenly into 1/2 size sheet pan. Bake for 40 min or until center comes clean with a toothpick. Remove cake from oven and let cool to room temperature before chilling for preparation.
Blackberry Compote
- 3 packages fresh blackberries
- 1 cup sugar
- 1 cup water
- 2 tablespoons cornstarch
- optional splash of Cointreau
In a medium size saucepan combine sugar and water. Heat over a medium heat, whisking until sugar dissolves. Add 2 packages of berries and reduce to a simmer. Whisk in cornstarch. Simmer mixture for ten minutes over very low heat. You don't want all the water to dissolve but you do want to the berries to start to break down.
emove berry sauce from heat and pour into a small food processor. Blend and then strain through a fine mesh sieve into a bowl. Stir in remaining package of berries and a splash of Cointreau. Cover and refrigerate until cooled.
Vanilla Buttercream
- 2 sticks (1 cup) unsalted butter, room temperature
- 4 cups confectioners sugar
- 1 teaspoon vanilla extract
- 1/8 teaspoon purple gel food coloring
In a large bowl, use a hand mixer to beat room temperature butter until light and fluffy. This should take about five minutes if your butter is at room temperature. Reduce mixer to a low speed and gradually add in the confectioners sugar. If you add it all at once you will have a powder explosion in your kitchen. I warned you. Beat together until well combined.
Finally, add in heavy cream, vanilla, and purple food coloring. Buttercream is ready when smooth, creamy and a uniform color. Set aside until ready to use. Frosting should be at room temperature when you assemble the cake so if you make this ahead and refrigerate it make sure you pull the frosting out of the refrigerator about thirty minutes before assembling your cake.
White Chocolate Matcha Ganache
- 1/4 cup heavy cream
- 5 oz chopped white chocolate
- 2 teaspoons matcha powder, plus 1/2 teaspoon more for garnish
- 1 tablespoon butter, room temperature
In a small saucepan, heat cream over a very low heat. It will warm quickly so stay on your toes! Pour hot cream over finely chopped white chocolate and whisk vigorously until white chocolate melts. Whisk in matcha powder and butter once white chocolate is melted. Pour ganache over the top of your chilled cake and gently smooth with a frosting knife. Top with garnish as desired.
Cake Assembly
(similar to the Raspberry Rose Reverie)
- Prep assembly surface by lying down parchment paper (nonstick surface and easy clean up)
- Remove Chocolate sheet cake from pan by gently running a fork around the edges and slamming down the sheet cake on hard surface to loosen. Remove cake from baking sheet and peel off the parchment paper. You should have a solid sheet of chocolate cake ready for your cake ring.
- Use cake ring to make two perfect circles and two half-circles in sheet cake (it's good to test first by gently pressing and finding your shapes before pressing ring all the way through the cake)
- Rinse cake ring and wipe clean after using to cut cake circles. This is important for a clean and smooth surface. Line inside with one 3" cake collar of acetate.
- Place two half circles of cake inside lined cake ring. There will be a large gap between the two half circles, and possibly along the sides. Use scraps of cake to fill in any gaps, pressing tightly. It'll get messy but make sure it is firmly packed on bottom. When you're done, no one will know that the bottom layer is actually scraps.
- Use bent spoon and add four to five heaping spoonfuls of Vanilla Frosting to cake layer. Use bottom of spoon to drag frosting around the layer, paying close attention to the edges. Make sure you have plenty of cake along the outsides of the cake as this is what will make your presentation really stand out. To prevent cake from "lifting" and getting crumbs all up in your frosting make sure not to lift spoon while spreading the frosting. The more frosting you have under your spoon while spreading the easier it will be to spread.
- Add half your blackberry compote on top of the frosting, again making sure to get some of those beautiful whole berries along the edges for the final presentation.
- By now you'll notice your cake layers are nearing the edge of the cake collar inside the ring... now it's time to add that second one in! Ensuring you dip the edge of the second collar behind the first, gradually slide the second cake collar around the ring. It will rise above the top of the cake ring, making sure you have plenty of smooth surface to continue to stack your cake layers.
- Add first full circle of chocolate cake to your cake ring. Make sure to use the "less-perfect" layer as you'll want to save the nicest circle for the top and most noticeable layer.
- Repeat steps 6 through 8: frosting and then filling followed by acetate.
- Finally, add your last cake layer. pressing down gently to make sure all the layers are densely packed.
- Glop on the last of your Vanilla Frosting and spread evenly. Try to make it even so that way your ganache goes on smoothly.
- Place cake in freezer for about thirty minutes while you prepare to make your ganache.
Top cake off with ganache and then place in freezer for at least four hours. Once the cake is frozen, lightly glide cake ring up over acetate and off of the cake. Remove the acetate before the cake defrosts and let sit for twenty minutes before slicing in.
- Dig in.